VizMaker’s Draw tools support focused material, colour and detail changes inside an existing visualisation. This short tutorial follows typical client revisions: changing a sofa fabric, trying a timber ceiling, choosing a wall colour and sharpening a selected foreground area.
It is a useful introduction to AI material replacement because each change begins with a visible selection. You can see where the instruction applies and refine the resulting layer afterwards.
Change one surface without restarting the entire concept
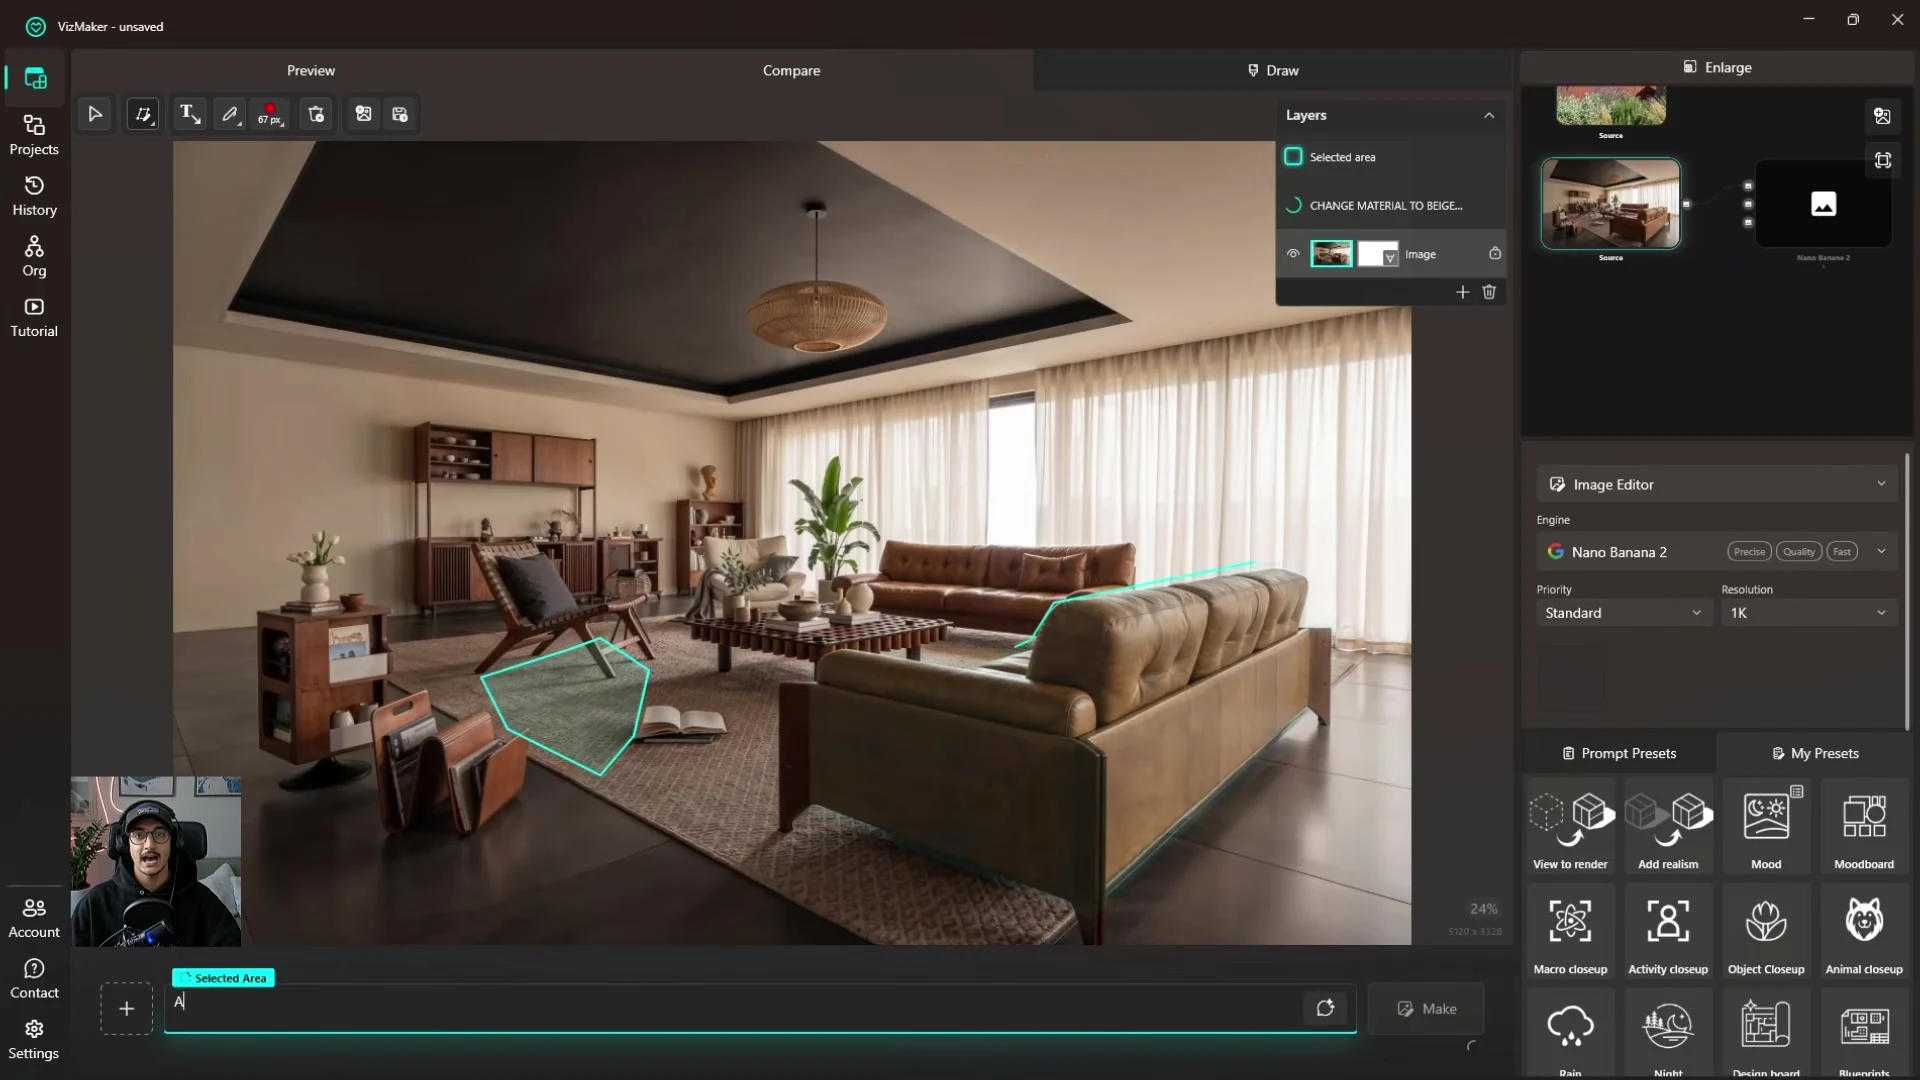
A client may like the room but ask for a different upholstery or ceiling finish. The demonstration selects the sofa and describes a beige fabric, then selects part of the ceiling and requests timber.
The rectangular and custom selection tools let the designer define the target area. Several revisions can be generated while work continues on another part of the image. This makes the workflow practical for exploring a small set of material options during a design discussion.
Refine imperfections through layers and masks
The tutorial does not stop at the first generation. It shows a generated cat, a material change and imperfect edges being adjusted through layer masks. Parts of a generated layer can be hidden and revealed again, so the result can be shaped around the original image.
Brush size and softness are adjusted with Alt and the right mouse button. Feather and margin settings change the transition around a selected area. These controls are useful when a soft blend is appropriate, or when a precise boundary needs more attention.
For AI editing of architectural renders, the final edge often matters as much as the new material. Inspect corners, furniture outlines and surfaces that overlap the edited region.
Use a RAL reference to guide a wall-colour option
The next example selects a wall and chooses RAL 2002 through the colour picker. That gives the instruction a specific palette reference, making it easier to communicate which orange is being explored.
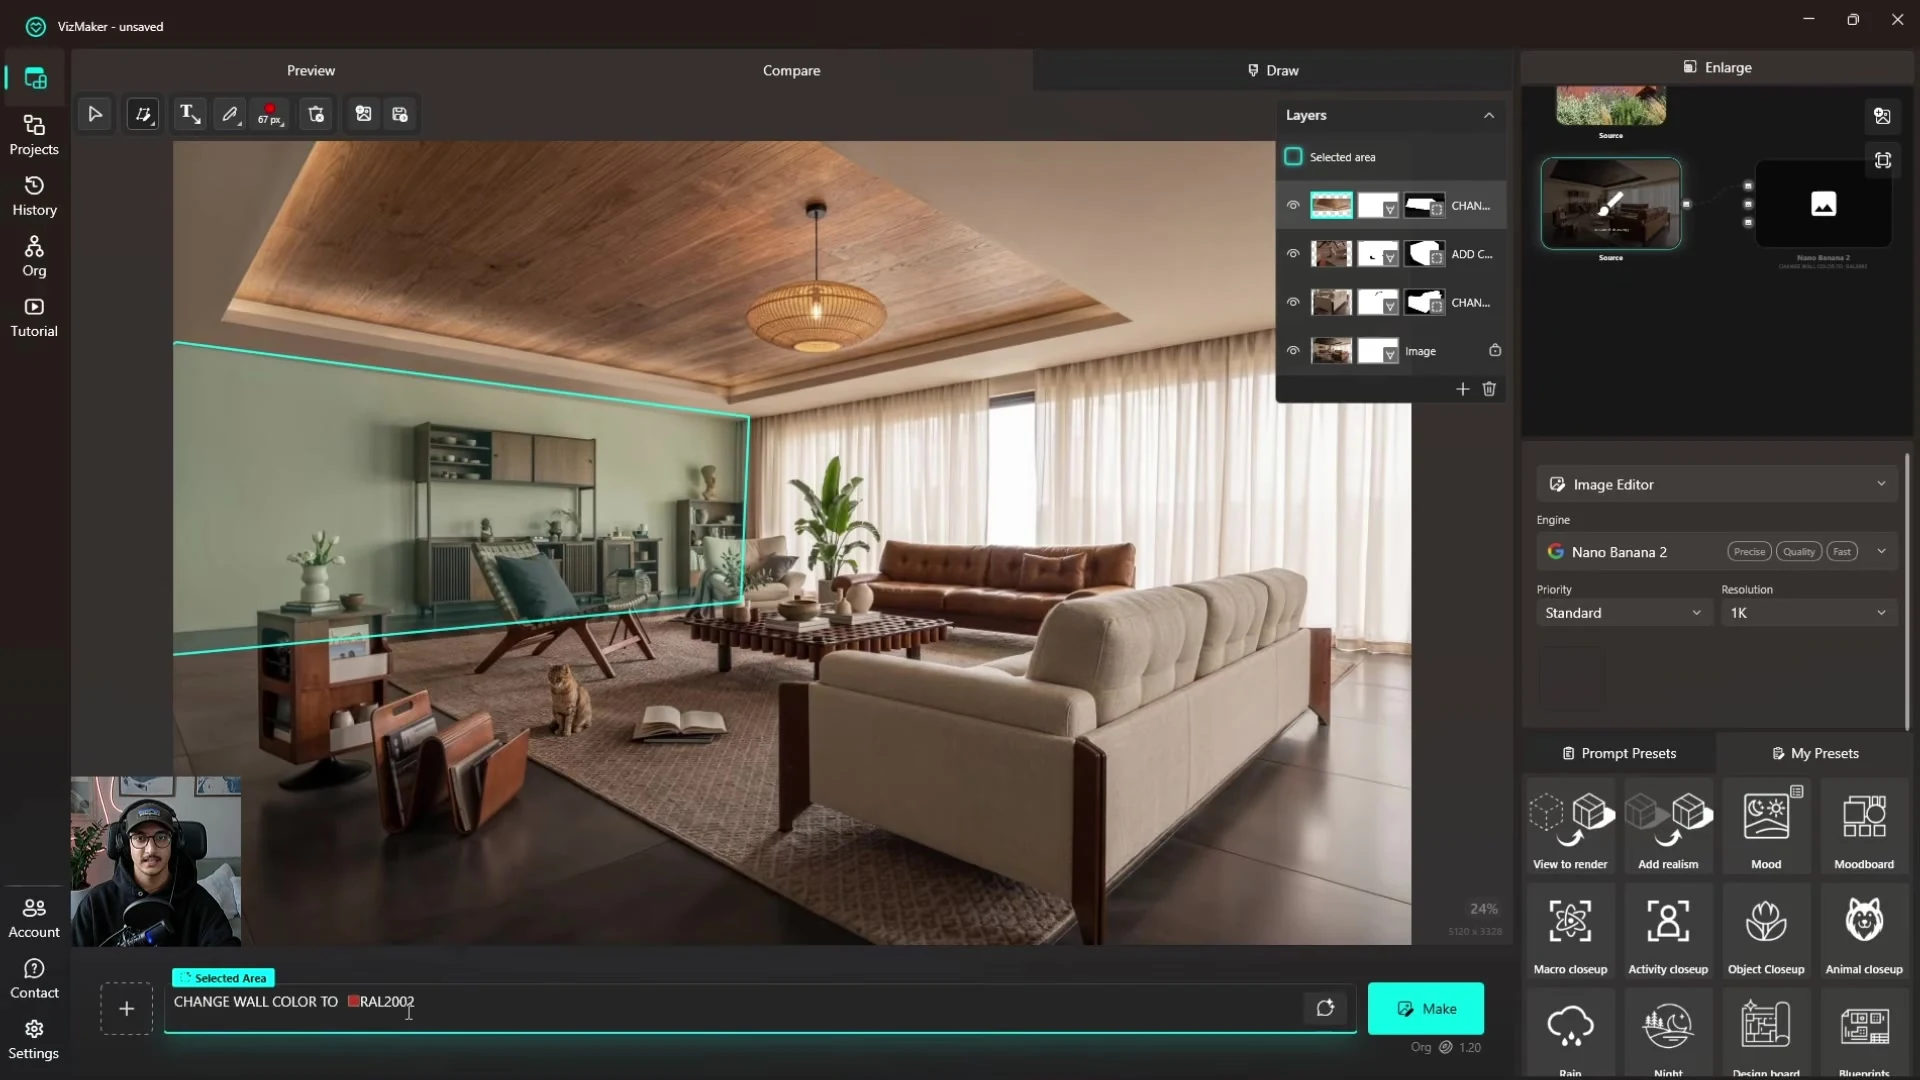
A colour code is useful for organising design alternatives, but a visualisation is still affected by lighting and screen reproduction. Use the generated view to discuss the design direction, then confirm the physical finish with the relevant samples and specification.
Upscale the foreground that needs more detail
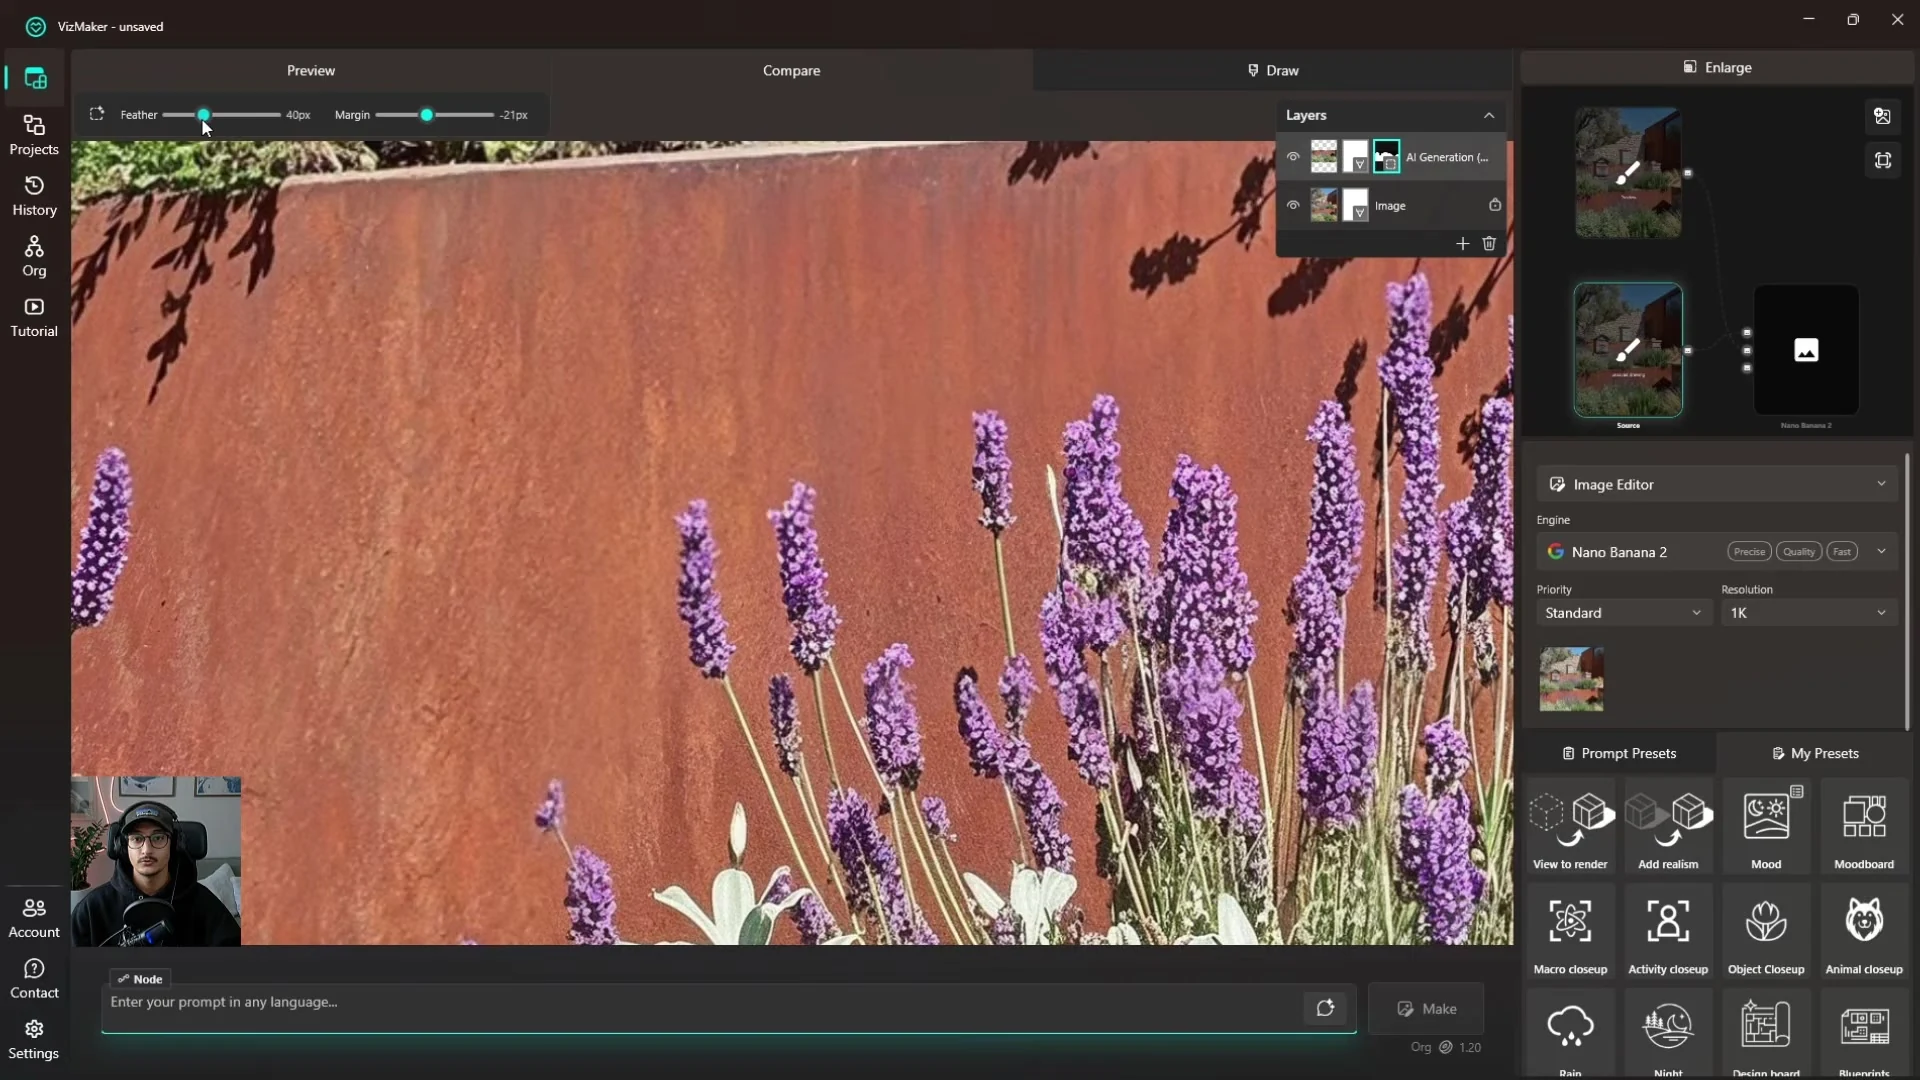
The exterior example selects a foreground region and sends it to Magnific Creative. The result is compared before and after, then its feather and margin are adjusted to make the boundary less visible.
This is the purpose of selected-area AI upscaling: direct the finishing work towards a detail that affects the presentation. It can be useful for a terrace, furniture group or planting bed while keeping the wider image as the reference.
Apply a texture reference and return the result to your project
The video also selects a façade area, adds a reference texture and requests a material change. Once the revisions are ready, the edited image is sent back into the node workspace, where it can be developed further or saved.
A practical revision cycle is therefore simple: select the area, define the change, inspect the layer, refine the mask and keep the result as another version. Use each version to answer a particular design question rather than changing unrelated features at the same time.
Frequently asked questions
Can I change a sofa material in an existing visualisation?
Yes. The tutorial selects the sofa, requests a beige fabric and then reviews the generated material change as part of a layered editing workflow.
What is the purpose of feather and margin controls?
They adjust the transition and extent of the selected mask. This helps blend a generated or upscaled region into the surrounding image.
Can a reference image guide a façade material change?
Yes. The video selects a façade region, adds a texture reference and describes the desired replacement before returning the edited image to the workspace.
Continue your VizMaker workflow
- VizMaker AI Render Editing: Masks, Materials and Local Upscaling
- ArchiCAD AI Rendering: Explore Interior Styles with VizMaker
Try this workflow in VizMaker
Start with a source image or project that you know well, follow the demonstration and compare the result against your design brief.
Download VizMakerVideo source: VIZMAKER ULTIMATE UPDATE !!! PART 1, published 23 July 2026. Tutorial published by VizAcademy UK. All screenshots above were extracted from this recording. This guide describes the demonstrated workflow; available models, interface details and offers may change. Visit the official VizMaker website for current product information.

From Architectural Drawings to an AI Skyscraper Presentation
Follow an AI skyscraper case study from architectural drawings to 3ds Max, Google Earth, VizMaker renders and animation—with practical modelling lessons.

How to render in 3ds Max? Rendering is one of the most important steps when working with computer graphics and 3D technologies. It is one of the integral processes when creating your own designs, graphics, animations or visualisations.

It is well-known that colors, shades and patterns carry a certain emotional charge and a hidden message. We don't even need to have special knowledge on the subject to intuitively feel that some colors evoke warm, positive associations in us, inspire our confidence, they have a calming effect and put us in an optimistic mood, while others, on the contrary, make us feel overwhelmed or even depressed.