VizMaker can connect four parts of an interior presentation: 3D furniture generation, AI rendering, design variations and animation. For a designer working in SketchUp, the benefit is a workflow that develops one model into several useful ways of explaining the proposal.
In this tutorial, Adrian Mazur starts with a simple interior and a missing furniture asset. He develops the project into renders, moodboards, material details, alternative styles and short presentation sequences. Each output answers a different client question, from the overall atmosphere to the appearance of a particular furniture piece.
1. Generate a missing furniture model from an image
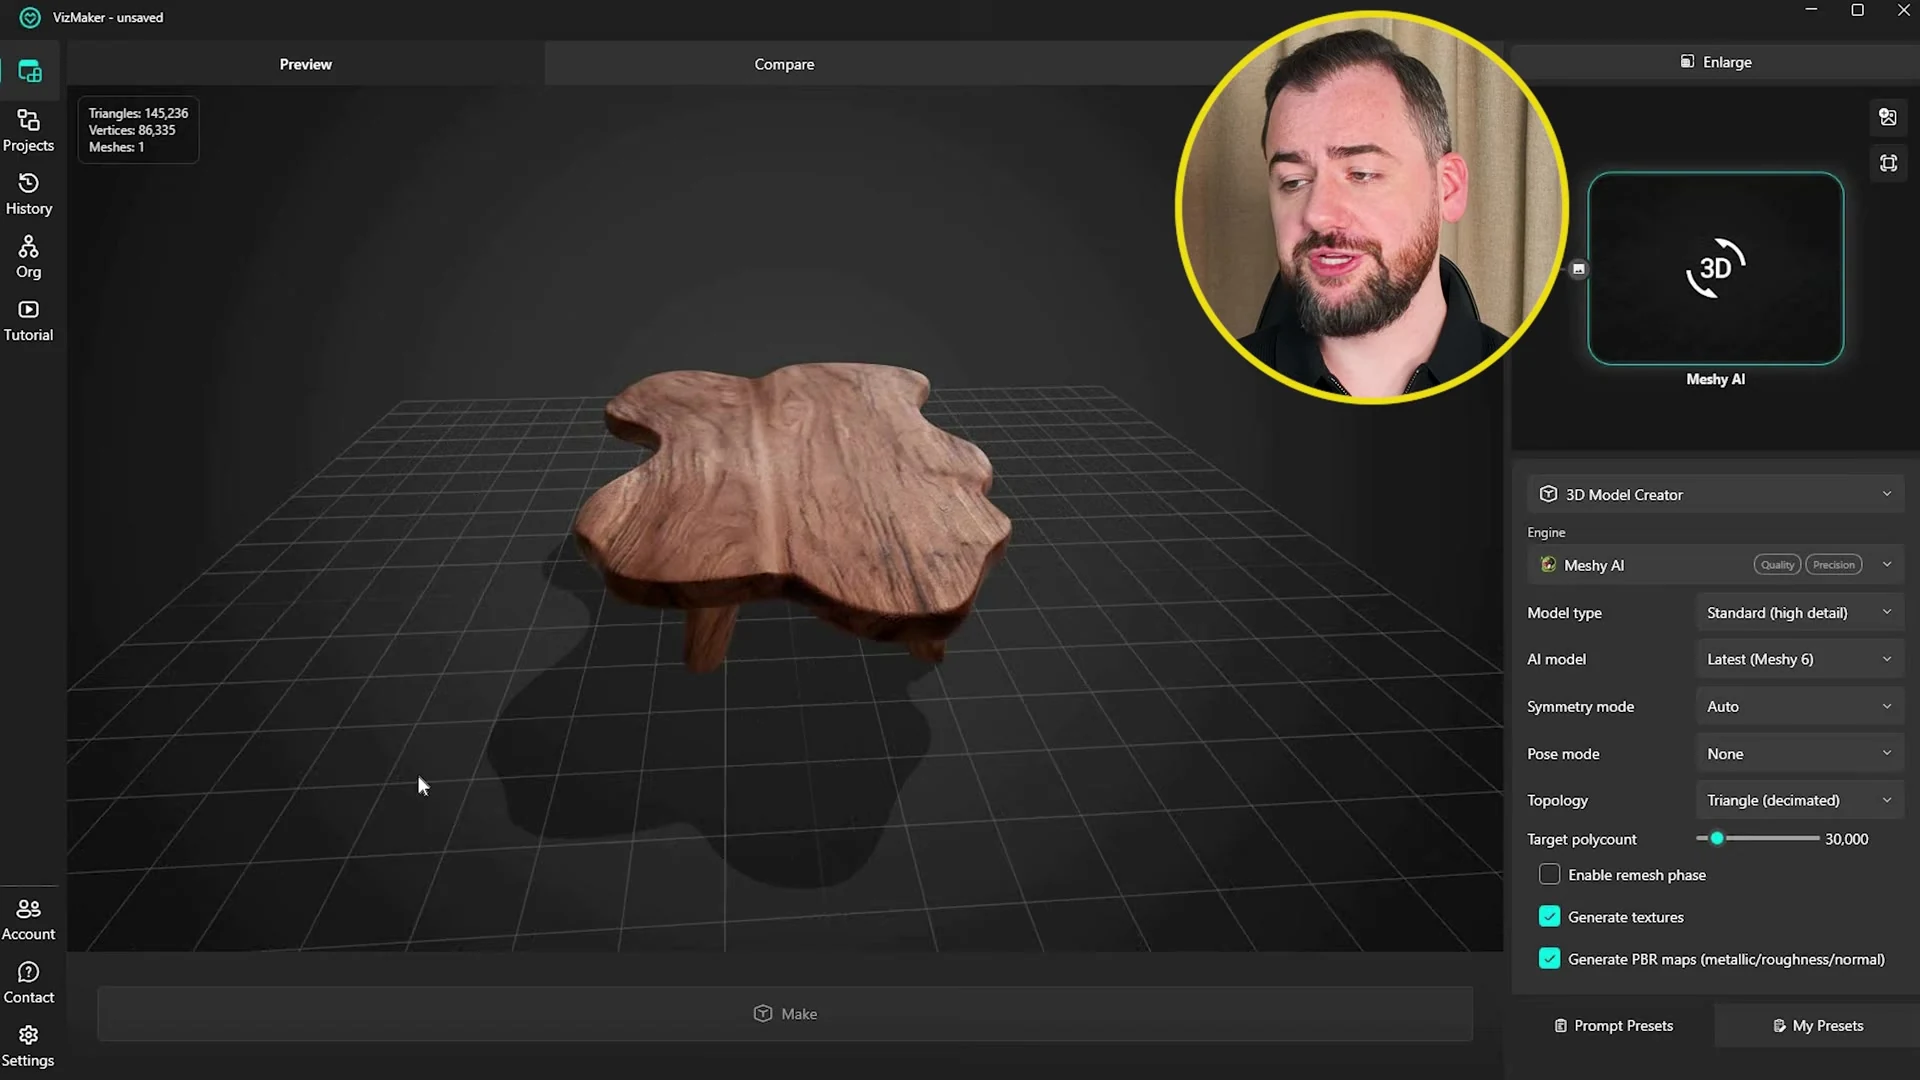
A distinctive coffee table can establish the character of an interior, but a suitable 3D asset is not always available. The tutorial shows an image-to-3D furniture workflow: prepare the furniture image, isolate the object against a plain background and use the 3D Model Creator to generate the asset.
Adrian selects Meshy AI in the demonstration, exports the result as a GLB file and brings it into his SketchUp scene. He then adjusts the scale and placement. The exact import route depends on the SketchUp version and importer in use; the important step is to review the asset in the actual project.
For a concept presentation, check silhouette, proportions, scale and how the materials read from the chosen camera positions. Image-based generation can supply a useful visual starting point, while exact product dimensions and detailed modelling still need to come from the design information.
2. Turn SketchUp views into an interior presentation package
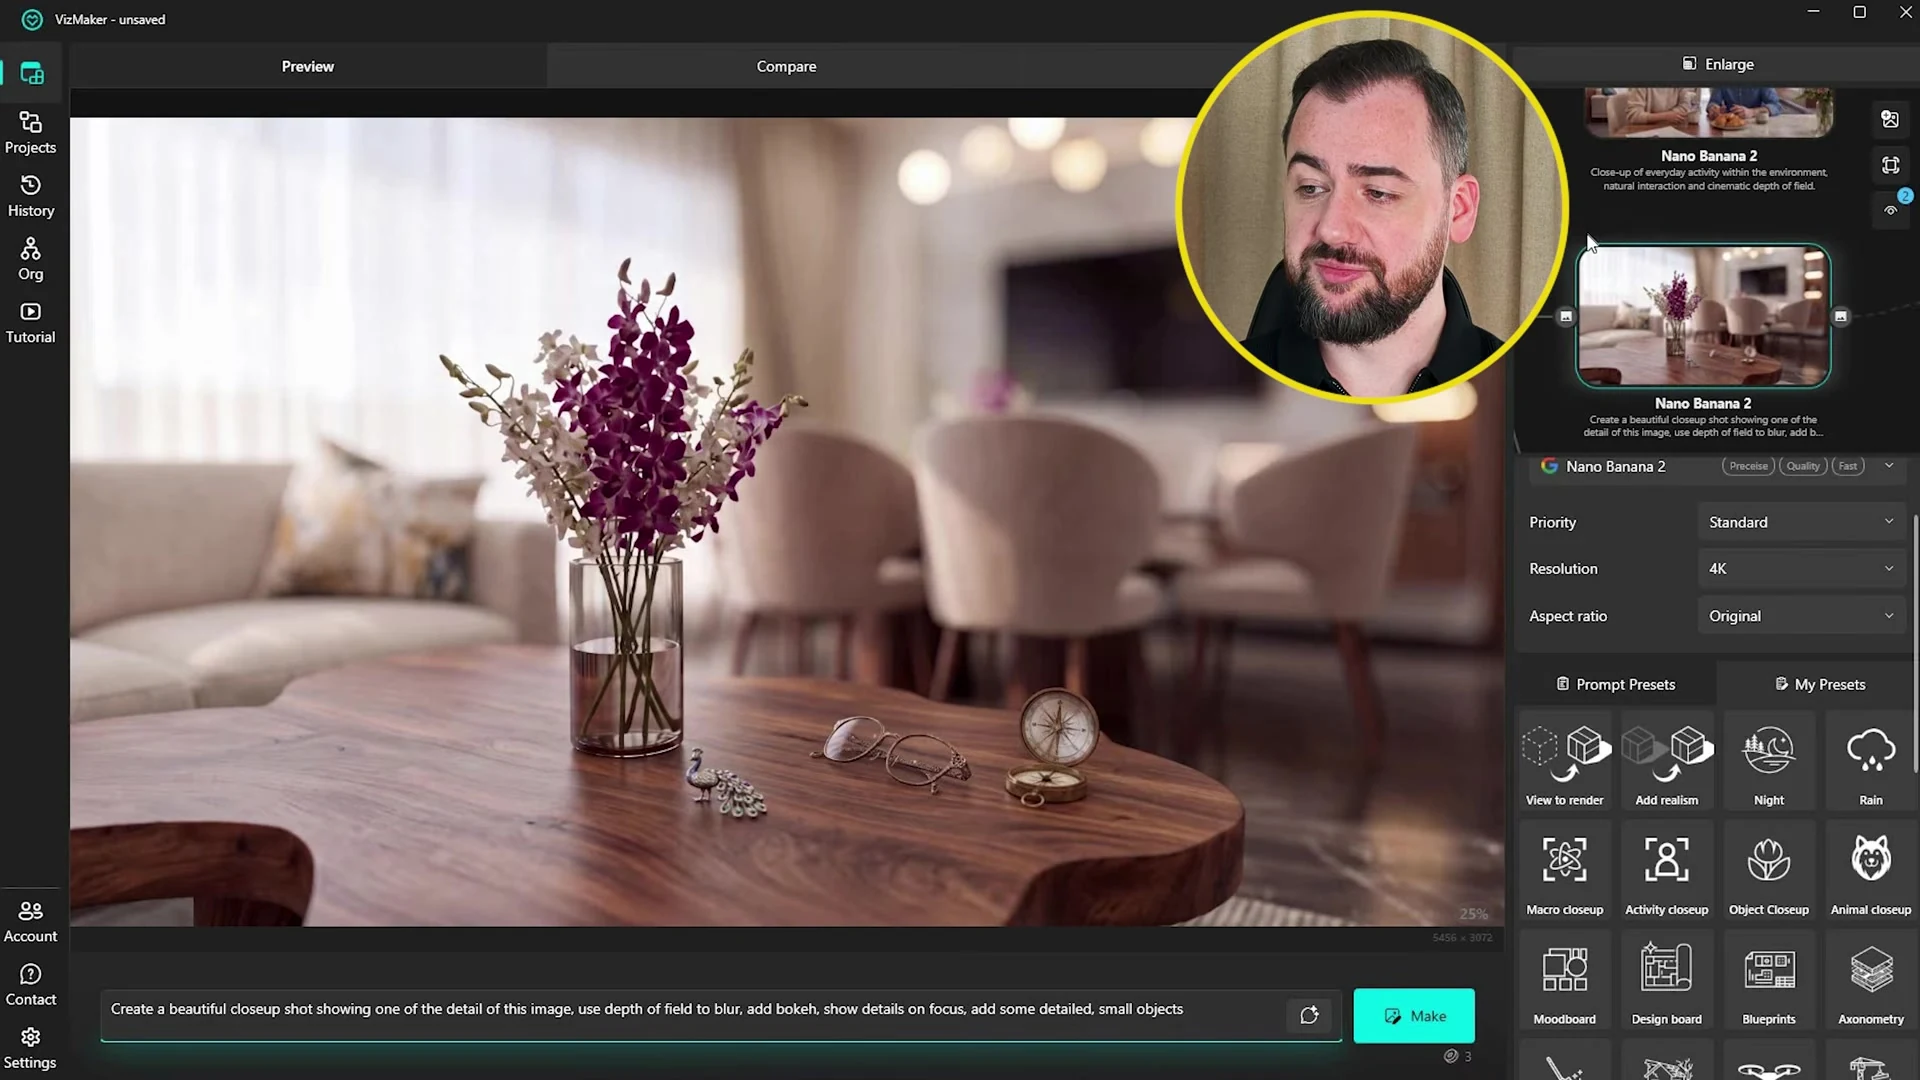
Once the table is in place, Adrian uses Nano Banana 2 through VizMaker’s Image Editor to develop the interior views. He generates alternatives and selects the versions with stronger lighting, material appearance and composition.
This selection stage is essential to AI rendering for interior designers. Compare the generated view with the source model. Look for unintended changes to the layout, window positions and furniture relationships, then decide which image communicates the proposal most clearly.
The chosen visuals become the basis for several presentation assets:
- Main room views communicate the layout, lighting and overall design direction.
- A design board and moodboard bring together furniture, colours, textures and visual references.
- Close-up imagery draws attention to material character and smaller details.
- People and activity scenes help explain how the room could feel in use.
Give each image a job in the presentation. A moodboard helps discuss atmosphere; an annotated drawing or specification communicates exact products and dimensions. Review any AI-generated labels or product details before using a board as project documentation.
3. Explore interior styles and focused furniture changes
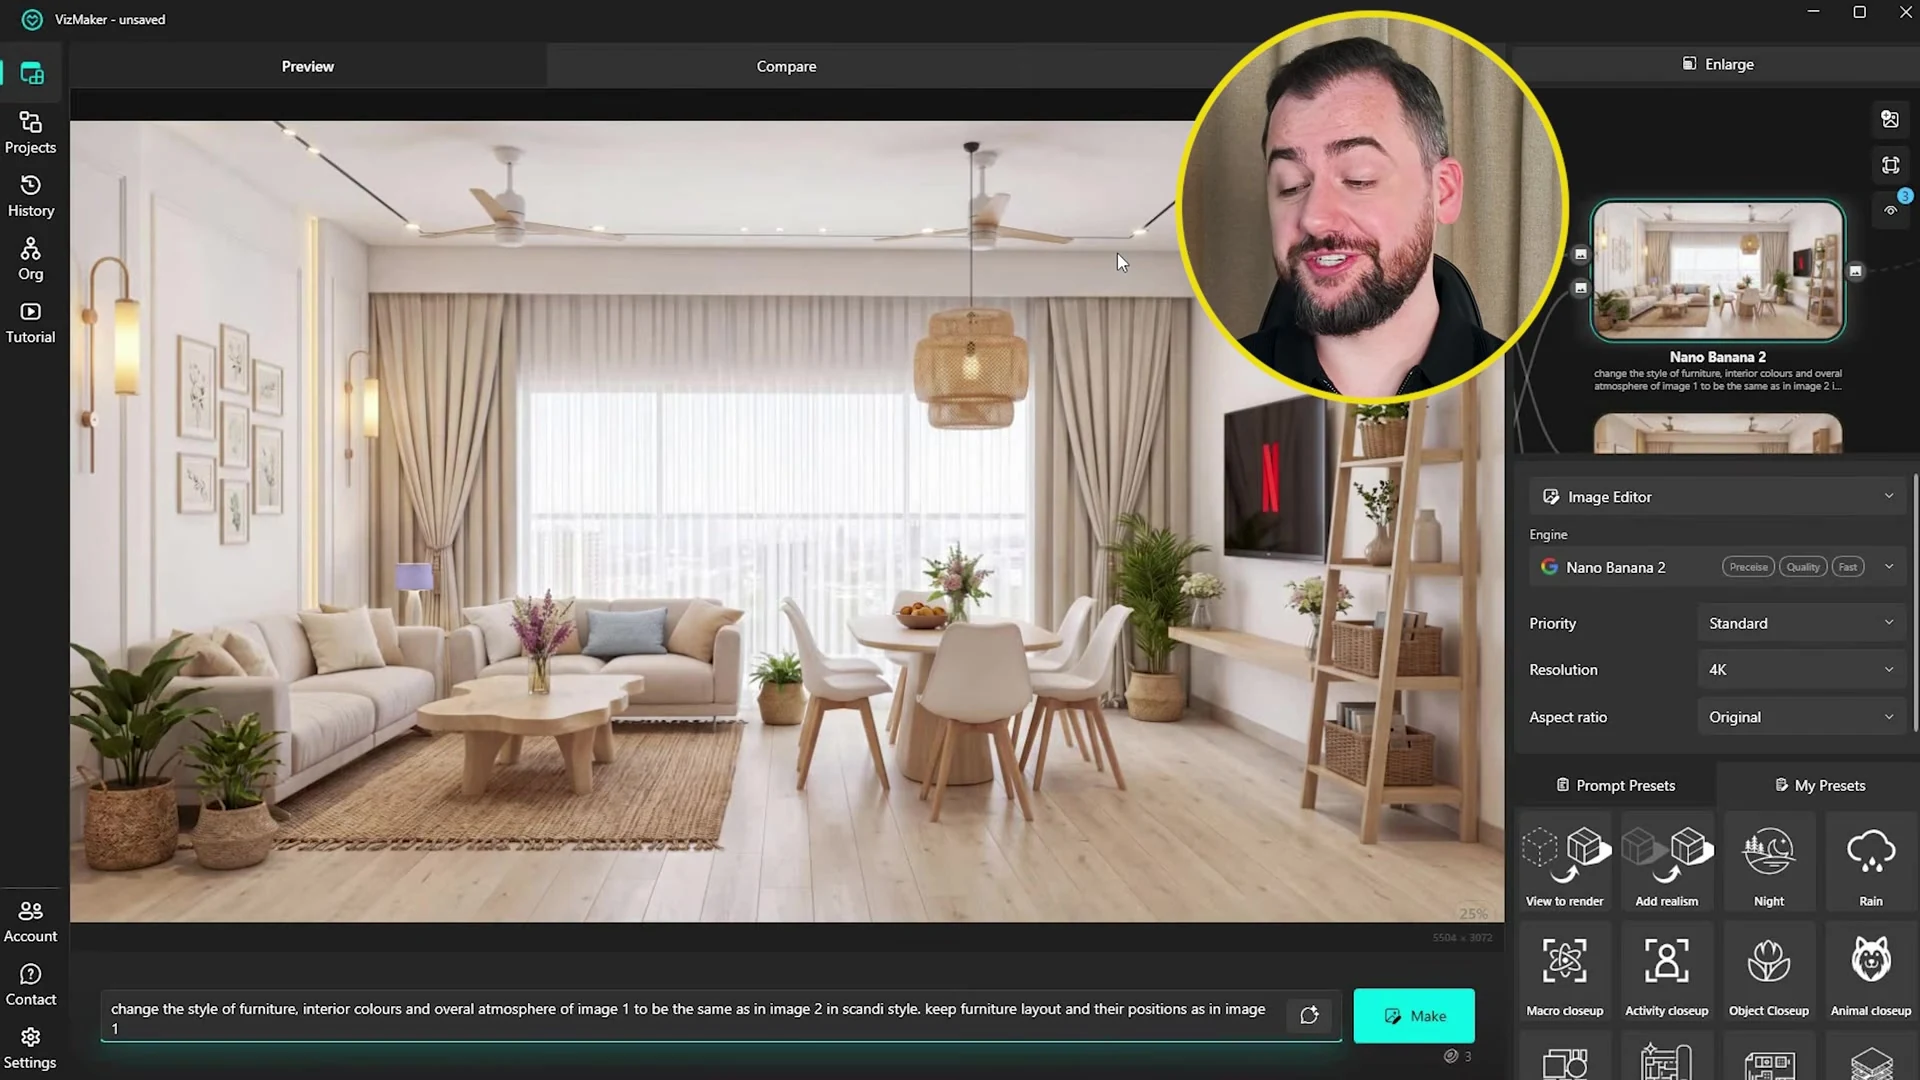
The tutorial develops four directions from the same base interior: Scandinavian, Japandi, colourful contemporary and luxury gold. Adrian supplies style references and asks the image editor to retain the layout and furniture positions while changing the visual treatment.
AI interior design variations are useful when the client has not yet chosen a material palette. Present the alternatives from a consistent viewpoint so the discussion stays focused on the design differences. Review each output rather than accepting every generated choice: in the video, Adrian questions some wall and ceiling treatments even when he likes the broader direction.
He then narrows the changes. Furniture references guide a revised seating arrangement, while the Draw controls mark an area for adding a plant and indicate where people should appear. These focused edits help develop a selected direction after the broader style exploration.
Describe both the requested change and the relationships that should remain stable. After generation, compare the edited image with the approved version. This creates a useful review loop for AI render editing without treating an image edit as an automatic update to the underlying SketchUp model.
4. Create short animations for the client presentation
The final stage turns the still-image package into moving sequences. Adrian uses Kling 3.0 for several transitions, including a design board to an interior, changes of style, a moodboard transition and movement between room views. He selects Seedance 2.0 for a sequence involving people entering and sitting down.
That choice illustrates a practical approach to AI interior animation: select the engine for the action you need. A material transition and a conversation between people place different demands on the video model.
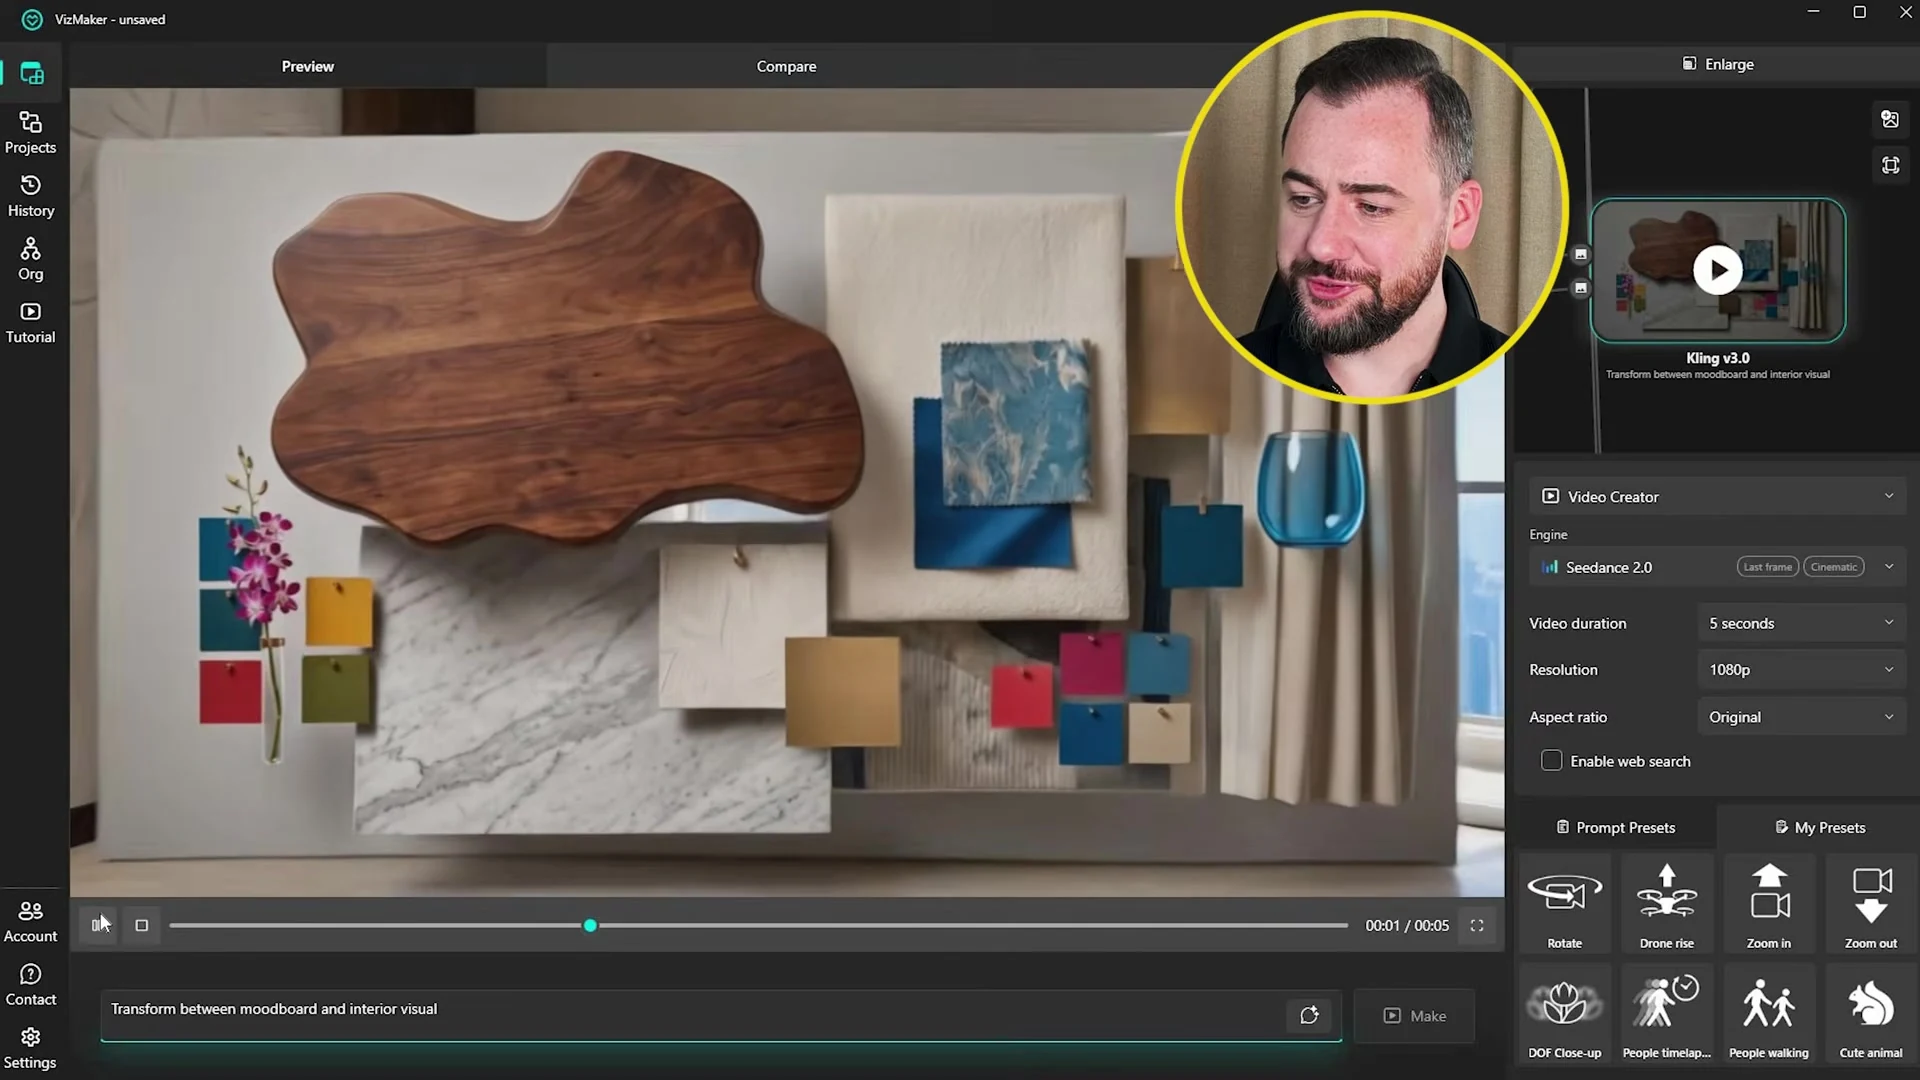
Plan a short sequence around the client conversation: introduce the concept, reveal the room, show a detail and finish with the preferred design. Watch the transitions for changing furniture, unstable edges or faces that become distorted. Keep the still images available so the client can pause and discuss specific decisions.
Keep the presentation connected to the design
The strongest result is a coherent set of visuals built around one proposal. Organise the source views, chosen images and alternatives clearly, then record which decisions the client approves. Update the design model and specifications to reflect those decisions.
For architects, interior designers and visualisation artists, VizMaker combines several stages that often interrupt a presentation workflow: finding an asset, refining a render, exploring another material direction and producing a short video. The tutorial shows how those stages can feed into one another while leaving room for the designer’s judgement.
Frequently asked questions
Can I generate furniture for a SketchUp presentation with VizMaker?
The tutorial demonstrates generating a coffee-table asset with Meshy AI in VizMaker, exporting GLB and bringing it into SketchUp. Review scale and materials, and use an import route supported by your SketchUp setup.
What can an AI interior presentation include?
The demonstrated package includes room renders, a design board, a moodboard, detail imagery, people and activity scenes, style alternatives and short animated sequences.
Can I change an interior style while keeping the layout?
The tutorial uses style references and prompts asking VizMaker to retain the layout and furniture positions. Inspect the generated output against the source because an instruction does not guarantee that every detail remains unchanged.
Which video models are used for the interior presentation?
Adrian uses Kling 3.0 for several presentation transitions and Seedance 2.0 for a people-focused sequence. The choice is based on the action being demonstrated.
Continue your VizMaker workflow
- Turn Renders into Walkable 3D Worlds with VizMaker
- VizMaker Draw Tools: Change Materials, RAL Colours and Local Detail
Bring your next design into VizMaker
Create and refine architectural images, explore 3D workflows and develop your next presentation.
Download VizMakerVideo source: 4 Ways VizMaker Upgrades Your Interior Presentations, published 17 May 2026. Source video by Adrian Mazur, Adrian Mazur | AI for Architects. Screenshots are extracted from this recording. The article describes the demonstrated version; current engine options and credit requirements are available in VizMaker.

Photorealistic 3D rendering is used in many professional disciplines – design and architecture among them. 3D renderings are an excellent way to communicate the intended structure and operation of a scenario, building or machine online quickly.
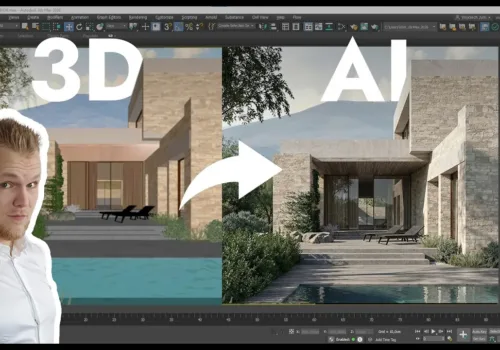
From 3D Viewport to Client Presentation: An AI ArchViz Workflow
Build an AI ArchViz presentation in VizMaker: render viewport views, enhance details, edit furniture, match a reference mood and create animated shots.
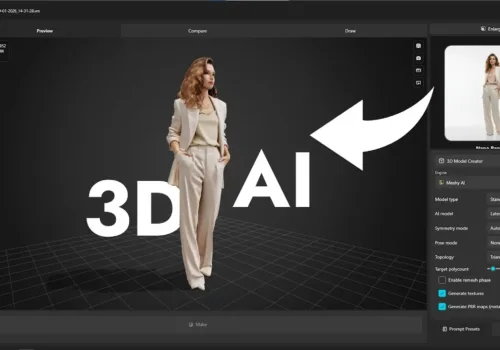
Image to 3D Model with VizMaker: Furniture, Sketches and Scene Assets
Generate 3D models from photos and sketches in VizMaker. Explore Meshy AI and Tripo 3D, export scene assets and refine furniture for architectural visuals.