VizMaker’s 3D World Creator converts a render or panoramic image into an explorable 3D environment. For architects and interior designers, this gives a client another way to understand a proposal: they can look around and move through the generated space, rather than follow only the viewpoints selected for a presentation.
In this tutorial, Adrian Mazur demonstrates interior and exterior workflows, compares a single image with a 360-degree panorama, shares a browser walkthrough and develops new still images from inside the generated environment.
Why turn a render into a walkable 3D world?
A well-composed render is excellent at directing attention. A design discussion may require something more exploratory: looking towards a window, comparing the seating area with the dining space, or seeing a building from a different position.
An AI architectural walkthrough makes these conversations easier to start from existing visual material. The important distinction is between what the source image shows and what the system must infer. With a single image, unseen areas need to be generated. A panorama supplies information in more directions and can improve coverage.
Single-image workflow: start with a clear design view
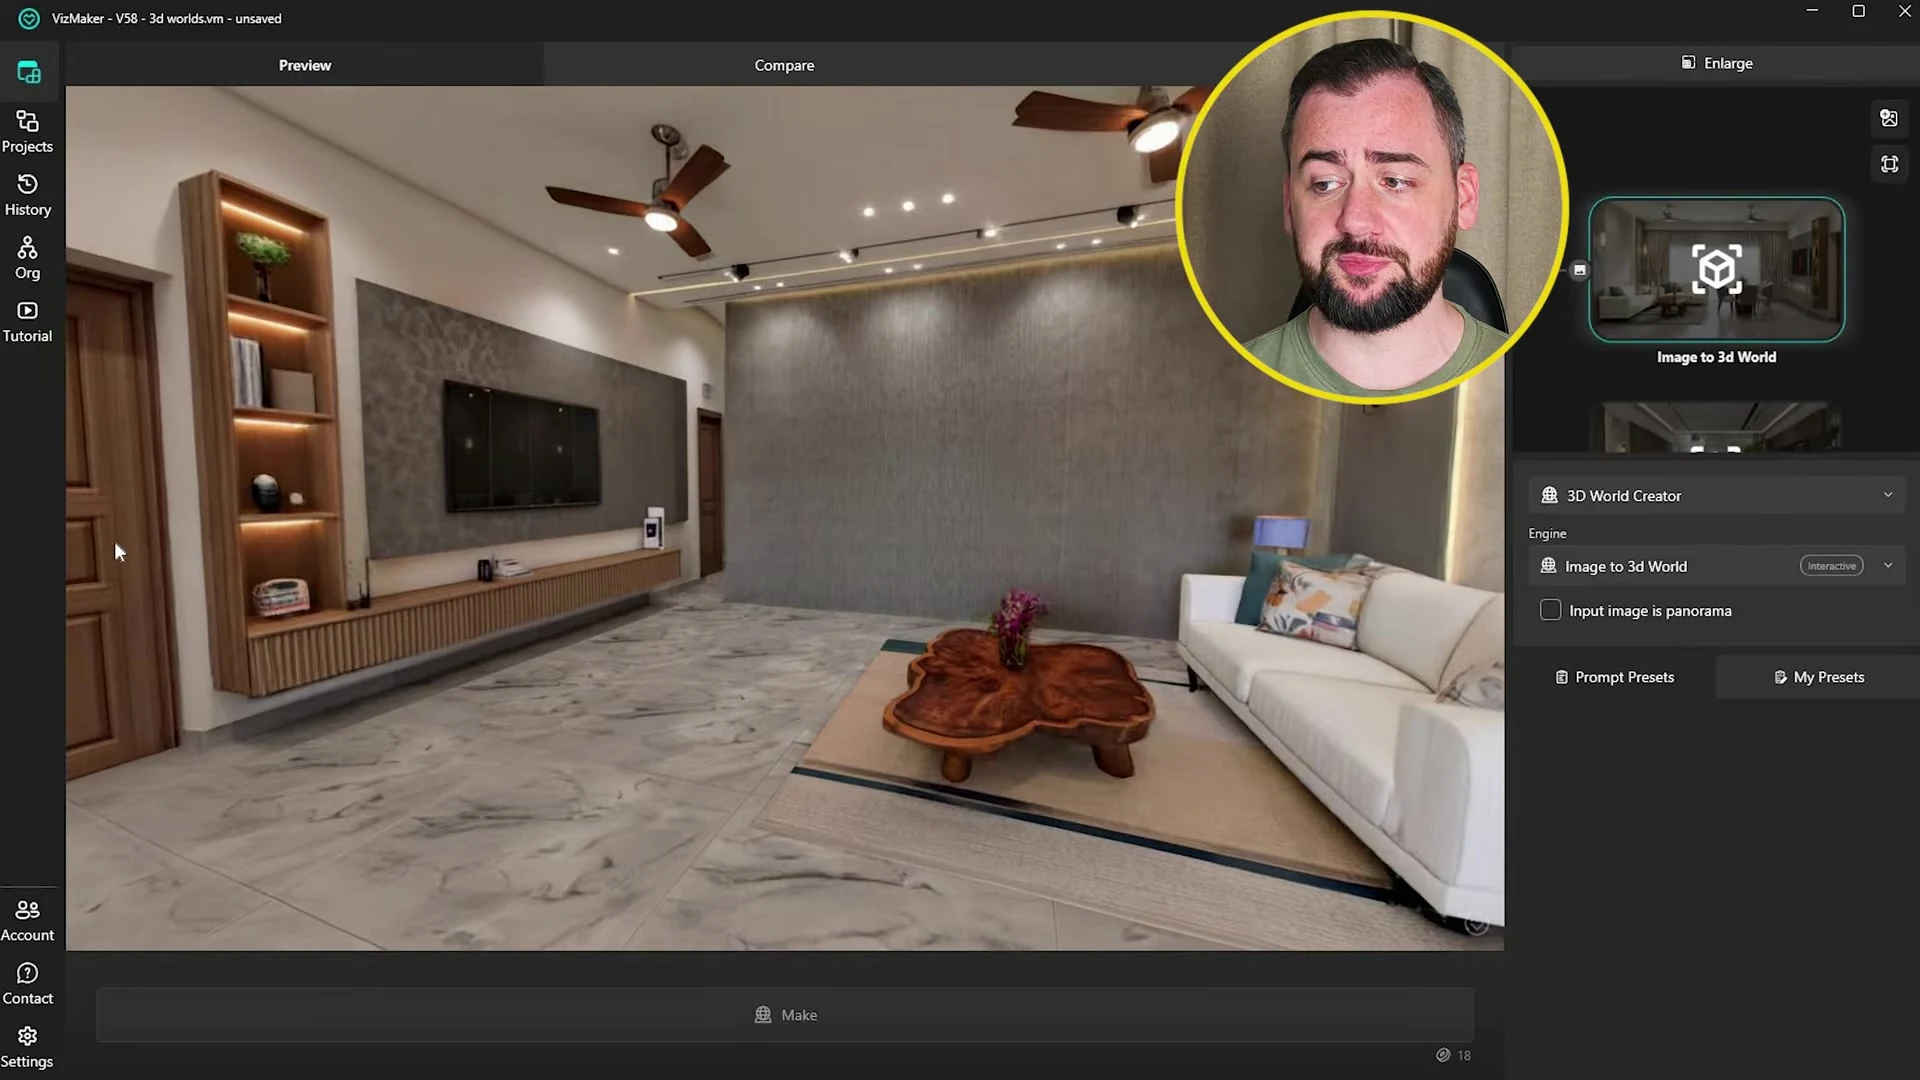
Adrian first develops interior views through the Image Editor, then passes the selected images to the 3D World Creator with the panorama option switched off. The resulting environments can be explored using the navigation controls shown in the recording.
This is a useful starting point for a concept discussion when you already have a render. Select an image that communicates the main spatial relationships clearly. After generation, look beyond the original camera view: stairs, adjacent rooms and objects near the edge of the frame deserve attention.
The tutorial includes both successful impressions and areas where the reconstruction is less convincing. Treat a single-image 3D world as a visual interpretation of the supplied view. Keep the original model or drawings available when the discussion turns to dimensions and exact layout.
Panorama to 3D: give the generator more spatial information
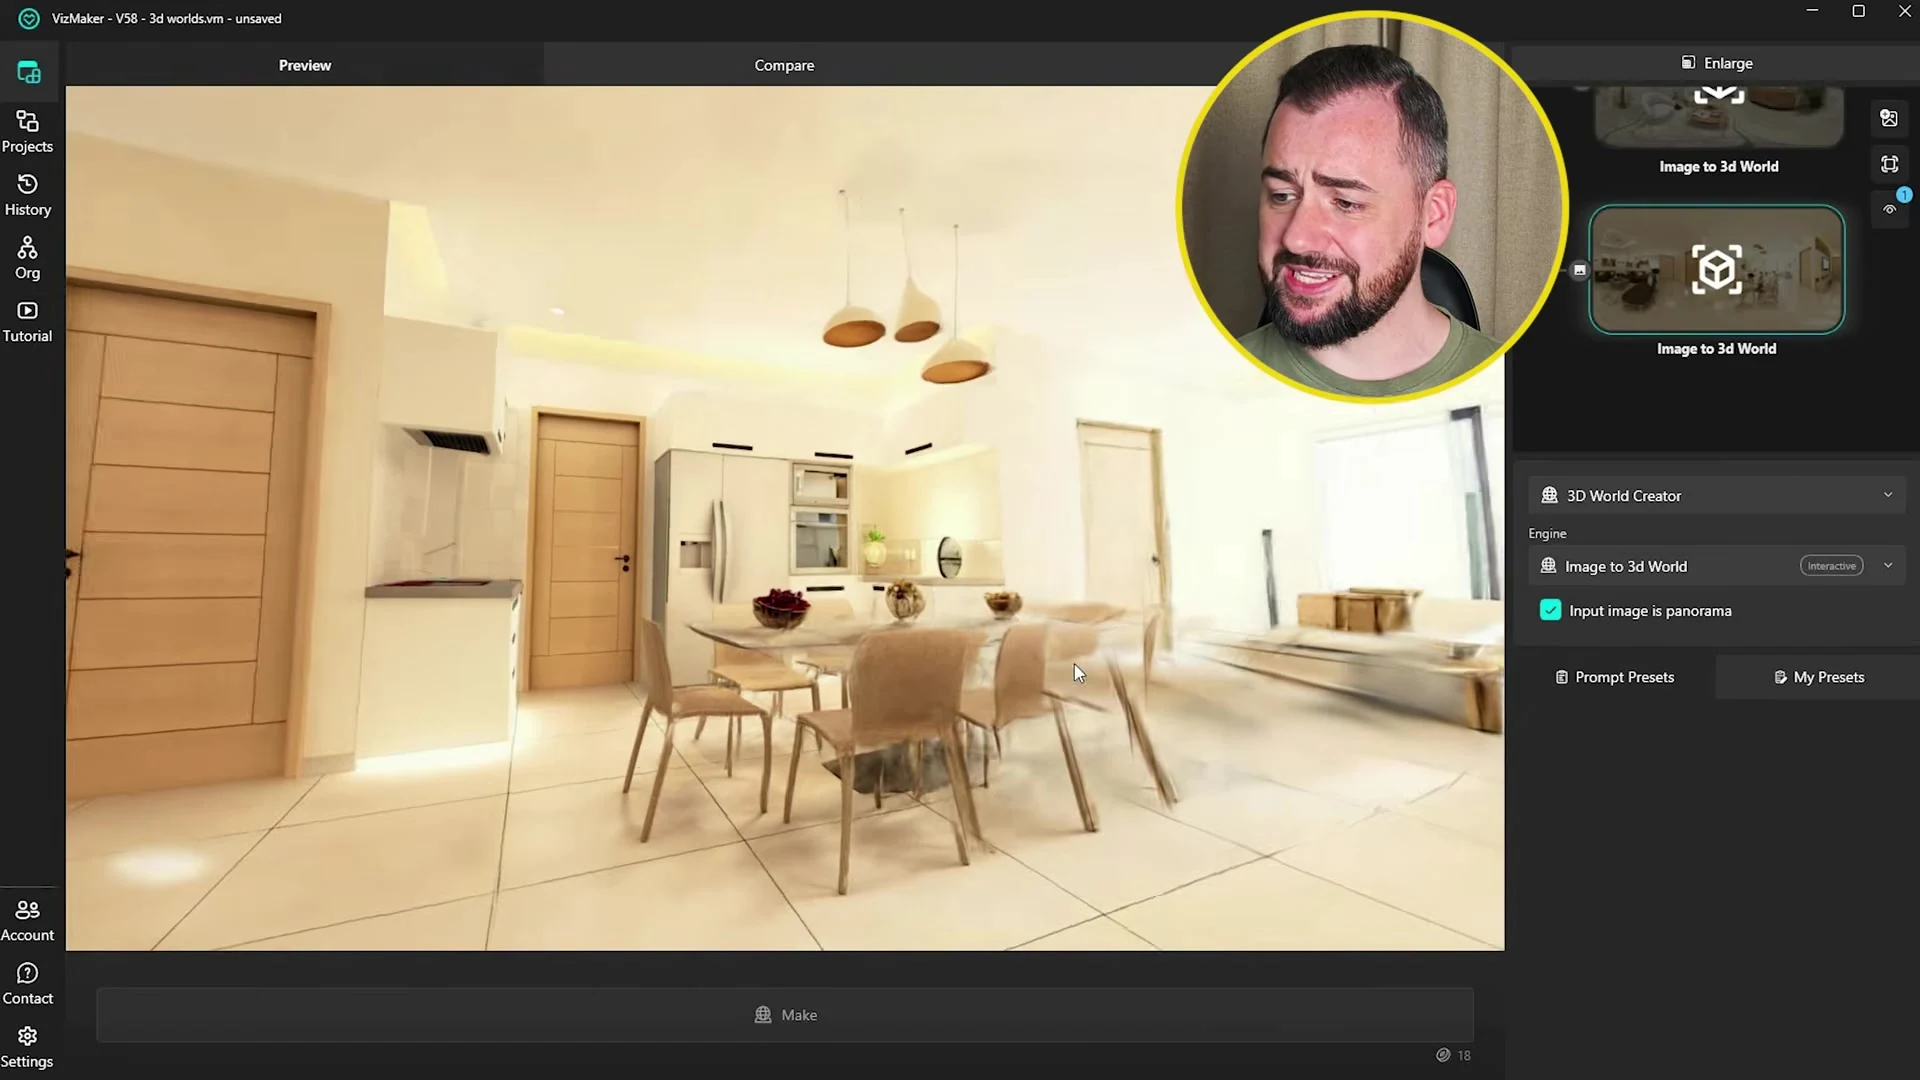
The second method uses a 360-degree panoramic render. Adrian imports the panoramic image and enables the panorama option before creating the world. This setting tells VizMaker how to interpret the source rather than treating it as an ordinary flat view.
In the examples, the panoramic method provides more coherent coverage around the viewer. It is a useful option when you already have a model and can export a suitable panorama from your rendering workflow. Check the camera and output settings in the renderer you use, then inspect the full image for visible problems before generation.
More source coverage reduces ambiguity, but a generated environment still needs review. Look at corners, openings and transitions between surfaces from several positions. A panorama records appearances from one origin; it does not supply every hidden surface of a building.
Explore exterior concepts and share the experience
The tutorial also creates exterior worlds from a panorama and a conventional image. These examples are useful for discussing the approach to a building, its relationship with landscaping and the overall impression of its surroundings. Check any generated context against the actual site when accuracy matters.
Using the share control, Adrian creates a browser link to the 3D environment. The client-facing viewer shown in the video allows exploration without installing the VizMaker creation app. He also demonstrates the availability of a VR viewing option.
For a productive review, send the walkthrough with a short brief: which option is being shown and what feedback you need. For example, ask the client to compare the atmosphere of the living and dining areas, then record the decisions to implement in the design model.
Revise furniture and regenerate the walkthrough
The source image remains a useful editing point. Adrian replaces a sofa using an image reference and Nano Banana 2, then regenerates the 3D world from the revised view. He repeats the idea with dining chairs in a panorama, describing how the replacement should fit the panoramic image.
This creates an efficient loop for AI interior design variations: edit the image, review the result, regenerate the environment and compare the options. Keep clear names for each version so that a client does not confuse an exploratory alternative with an approved design.
Find a new angle, refine it and upscale
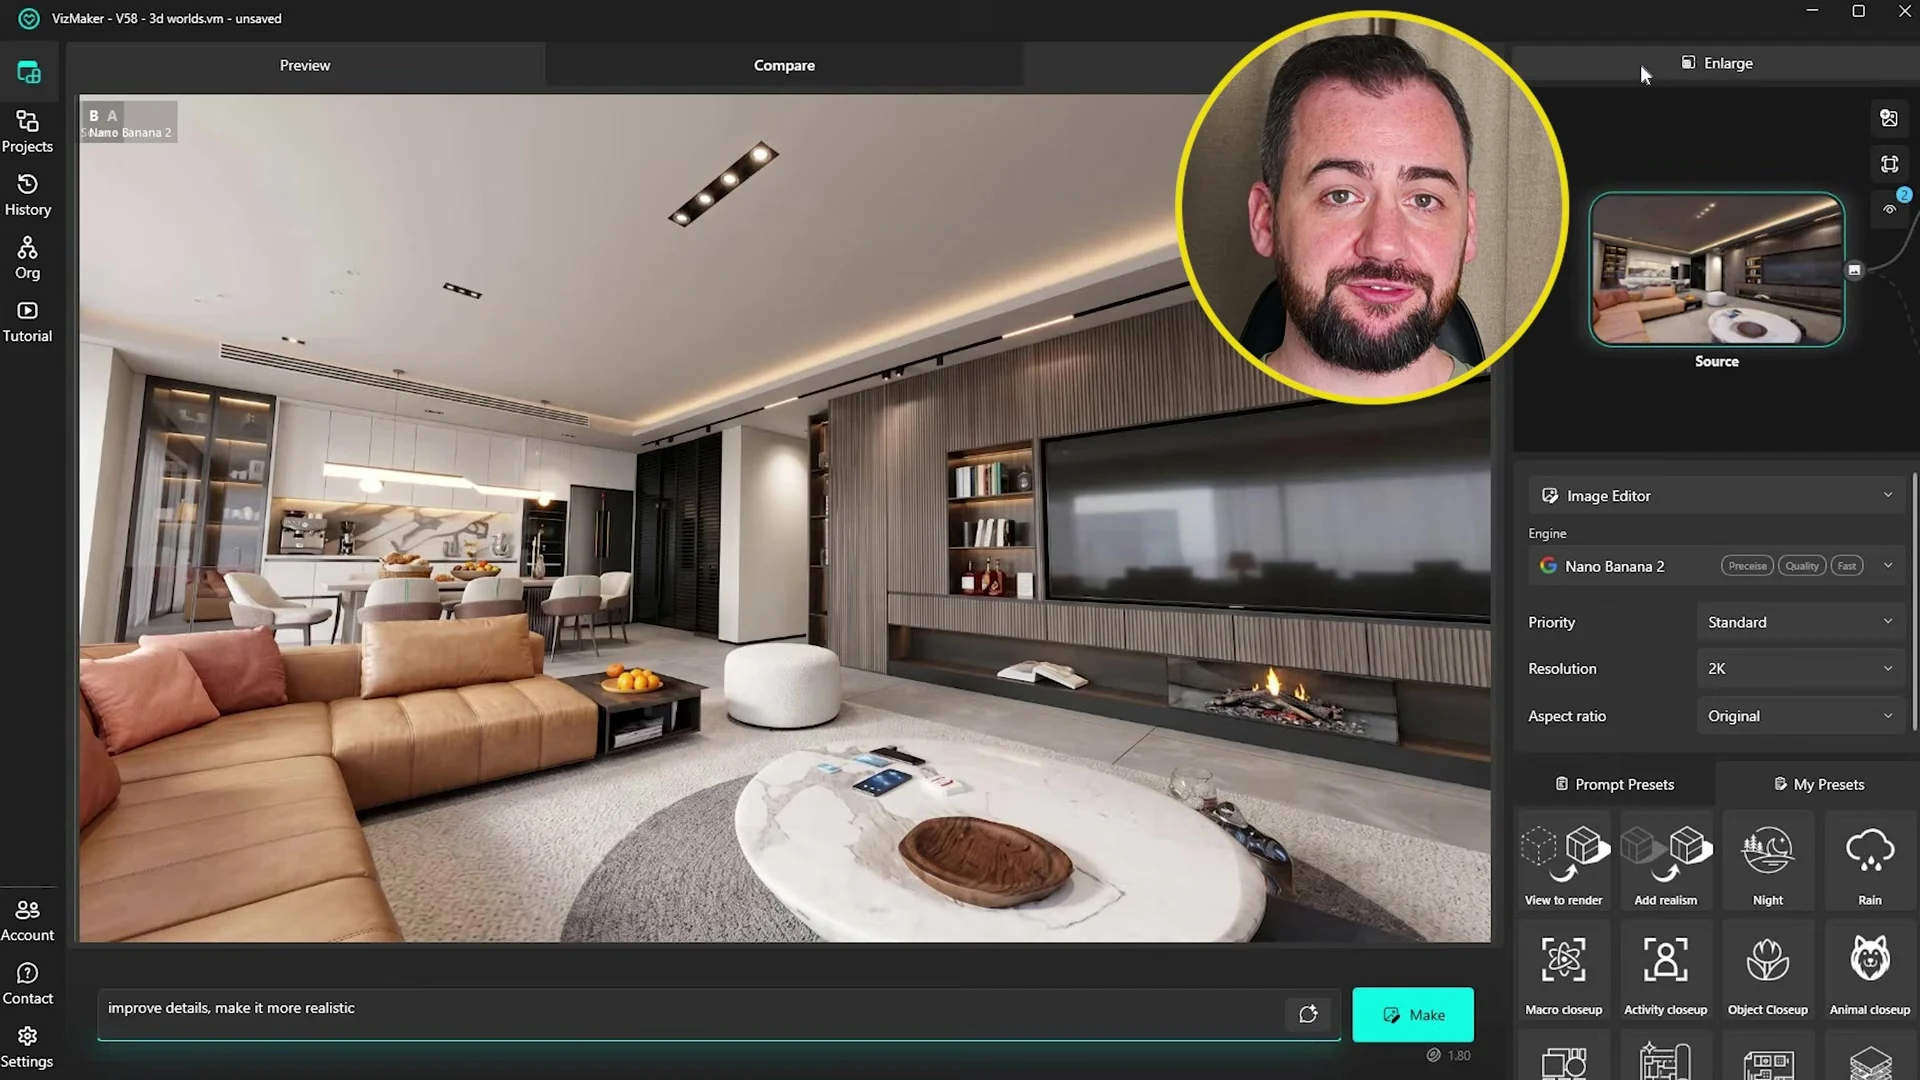
The camera control inside the generated world provides another route to presentation imagery. Adrian captures a view, brings it into the Image Editor, improves it with Nano Banana 2 and then uses Magnific Creative to refine the result further.
For visualisation artists, this connects image-to-3D generation, AI image editing and upscaling. It can help explore compositions before committing to a final presentation. Compare the enhanced image with the captured view, especially where added detail could change furniture, material joints or architectural elements.
The strongest use of this workflow is to make a design easier to discuss. Start with a clear source, choose the correct image mode and review the world before sharing it. Use the resulting feedback to advance the underlying project.
Frequently asked questions
Can VizMaker create a 3D world from one render?
Yes. The 3D World Creator demonstrated in the tutorial generates an explorable environment from a conventional image. Areas outside the original view must be inferred and should be reviewed.
Should I use a panorama or a flat image for an AI walkthrough?
A flat image is a convenient starting point. A suitable 360-degree panorama supplies more surrounding information and gives better coverage in the demonstrated examples. Enable the panorama option for that input.
Can clients open a VizMaker 3D world in a browser?
The tutorial shows a share control that creates a link to a browser viewer. Clients can explore the shared environment without installing the VizMaker creation app.
Can I create new still images from a generated 3D world?
Yes. The demonstration captures a viewpoint inside the world, refines it with the Image Editor and then uses Magnific Creative for further enhancement. Review added details against the design.
Continue your VizMaker workflow
- SketchUp to Interior Presentation: Four AI Workflows with VizMaker
- Image to 3D Model with VizMaker: Furniture, Sketches and Scene Assets
Bring your next design into VizMaker
Create and refine architectural images, explore 3D workflows and develop your next presentation.
Download VizMakerVideo source: I turned my RENDERS into 3D WORLDS – Full Workflow, published 22 June 2026. Source video by Adrian Mazur, Adrian Mazur | AI for Architects. Screenshots are extracted from this recording. The article describes the demonstrated version; current engine options and credit requirements are available in VizMaker.
From 3D Viewport to Client Presentation: An AI ArchViz Workflow
Build an AI ArchViz presentation in VizMaker: render viewport views, enhance details, edit furniture, match a reference mood and create animated shots.

Daylighting in Architecture Today, architecture and design are closely intertwined with each other, together forming a coherent image of buildings and structures, because without proper design of the entire volume of the building can not get a beautiful interior solutions.

Every 3D designer should have a professional portfolio that documents past achievements, helping attract the attention of new clients and allowing to find employment in the dream job.